How to create a Subscription Card (Multipass)
Create a Subscription Card, called Multipass in the console. Follow the illustrated steps for settings, design and card information.
Application review pending. Current permissions and product version are unverified.
On this page
A Subscription Card is also called a Multipass Card. Select Multipass in the console. The example card, "Subscription Card NEW", has offer wording for five burger purchases during a 30-day period, but a saved expiry of 1 Months. The name "Subscription Card" does not confirm automatic recurring billing.
Before you start: have access to the merchant console and agree your allowance, price, expiry, locations and staff rules. Use this guide to prepare the card. Not yet verified: the current save/preview/activation sequence, issued allowance, expiry timing and transactions. Confirm these with support or on an authorized test card before offering it to customers.
The illustrations are cropped to the relevant controls from the saved example and displayed at the reading-column width. Their original text, values and numbered markers are unchanged. The card type is locked on this existing example. Select View larger image, then Zoom in for fine print on narrow screens. Numbered markers match the steps in each section.
-
After logging in, open the left-hand menu.
-
Click Cards to open the Cards module.
-
Decide whether to reuse a template or build a new offer; the following step starts a new offer.
-
Click From scratch.
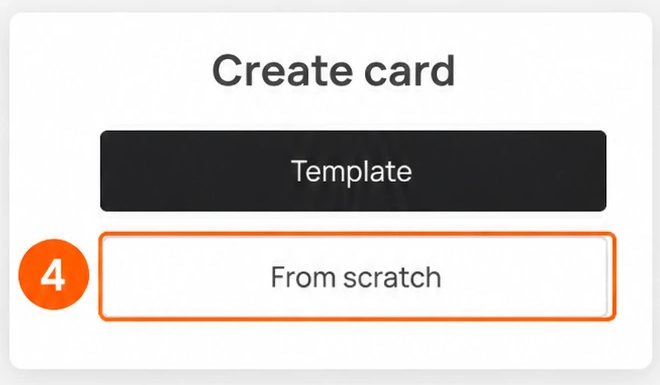
- The card creation workflow has five sections: Card Type, Settings, Design, Information, and Save and preview.
Card Type
-
Open Card type on your new card. The illustration shows an existing locked example, not a tested new-card selection.
-
From the available card types, select Multipass (the console name for a Subscription Card).
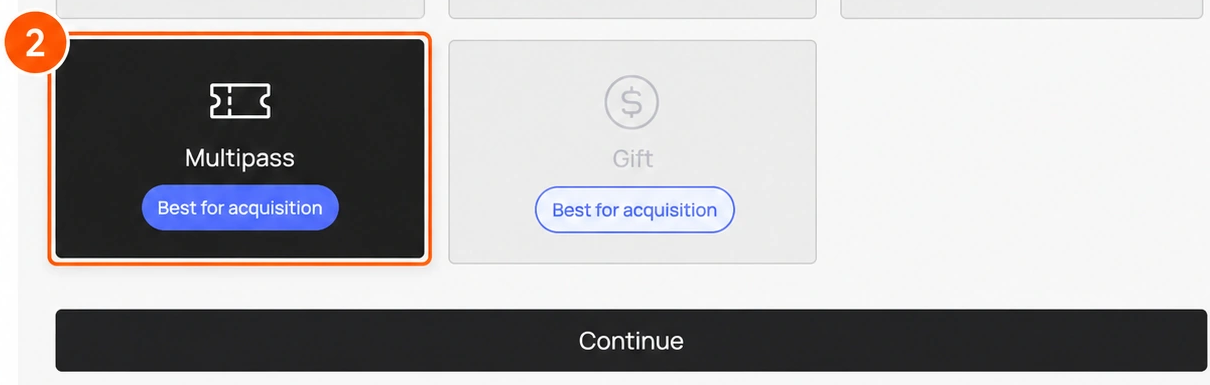
- Click Continue to open Settings.
Settings
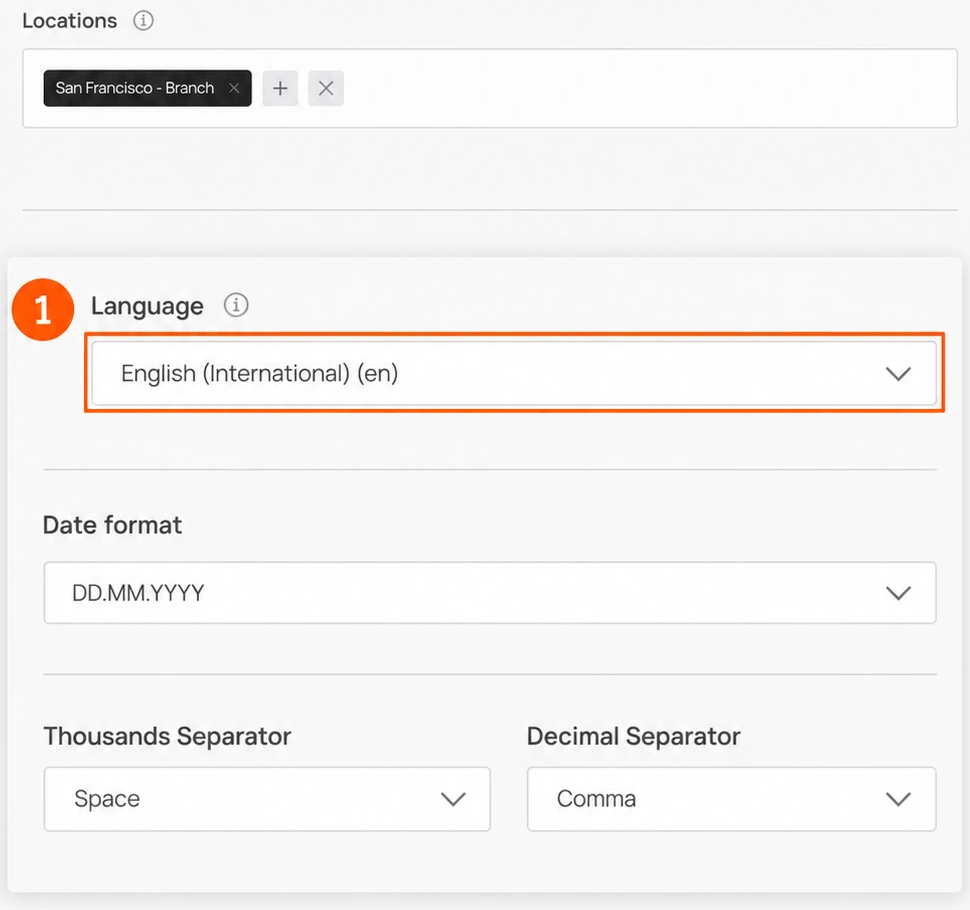
The editor also includes Barcode type, Happy hours, Promotions, Stamp life, Lifetime points, date and number formats, Scanner App purchase and comment requirements, wallet and PWA installation controls, issuing limits, shared-link installation and birthday settings. The values shown are saved example settings, not required defaults.
- Choose your Subscription Card's language from the Language dropdown.
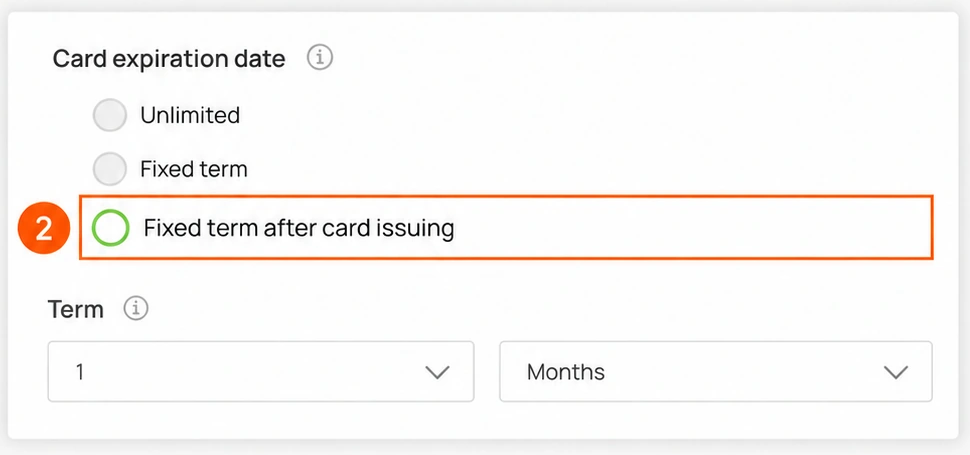
- Choose an expiry option under Card Expiration Date.
-
Match expiry to the promise: Unlimited for no fixed validity period; Fixed term for a fixed expiry; Fixed term after card issuing for a rolling period. Confirm the date/value/unit for the selected option. The sample's 1 Months does not establish its written 30-day promise. Not yet verified: the proposed 30 Days setting, when validity starts and ends, and expired-card behavior.
-
In Locations, select the business locations where customers can use the card. You can select more than one.
-
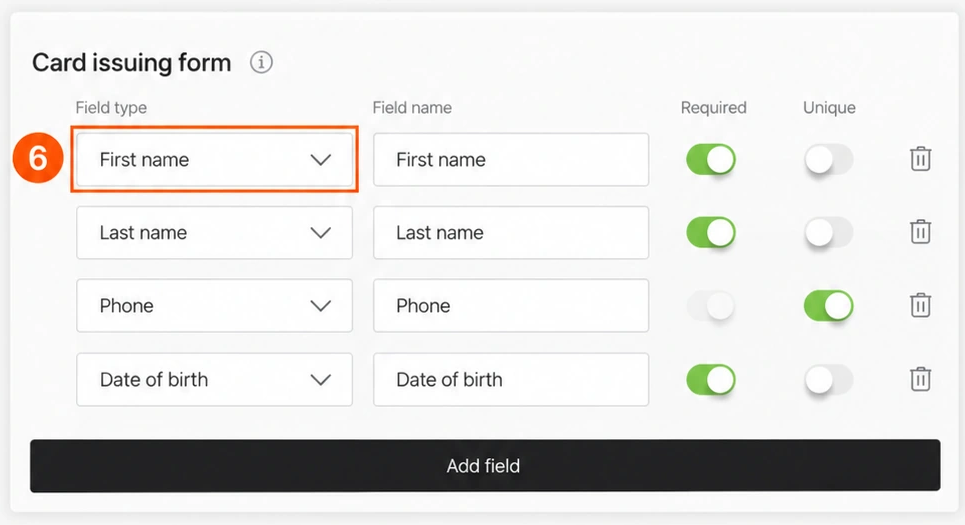
Configure Card issuing form. Suggested first setup: First name and Phone, both Required; leave name fields non-Unique because customers can share names. Add Email if your installation instructions rely on it. Collect Date of birth only if needed. This is a recommendation, not the saved sample or a tested uniqueness policy.
-
Use the Field Type dropdown to select the type of field you are adding.
-
Enter the field name in Field Name.
-
Turn on Required to make the field mandatory.
-
Turn on Unique if the field must contain unique data.
-
To remove a field, select the trash icon at the end of that form row.
-
Click Add field, then choose the field type and enter its name.
-
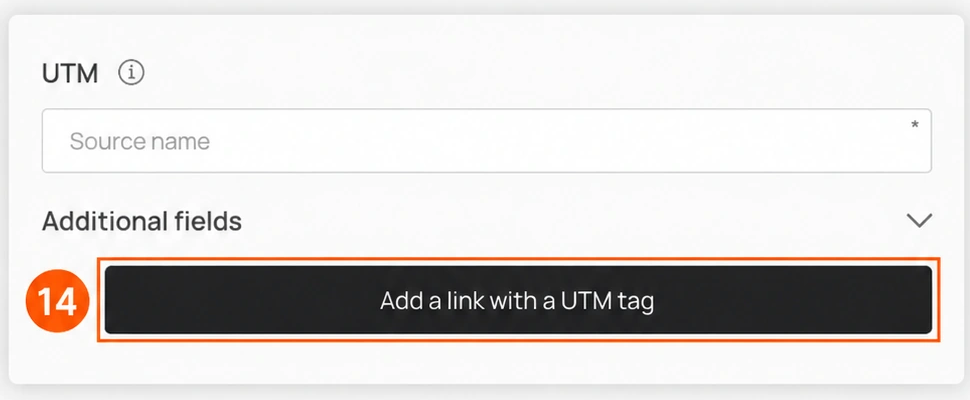
Optional tracking; skip steps 12–14 for the first setup. Use UTM to create a link that tracks traffic from a channel. For example, entering Facebook creates a URL with a UTM tag for that channel.
-
Only for a UTM link, enter the channel name in Source Name.
-
Only for a UTM link, click Add a link with UTM Tag. Check the resulting link and its effects before distributing it.
-
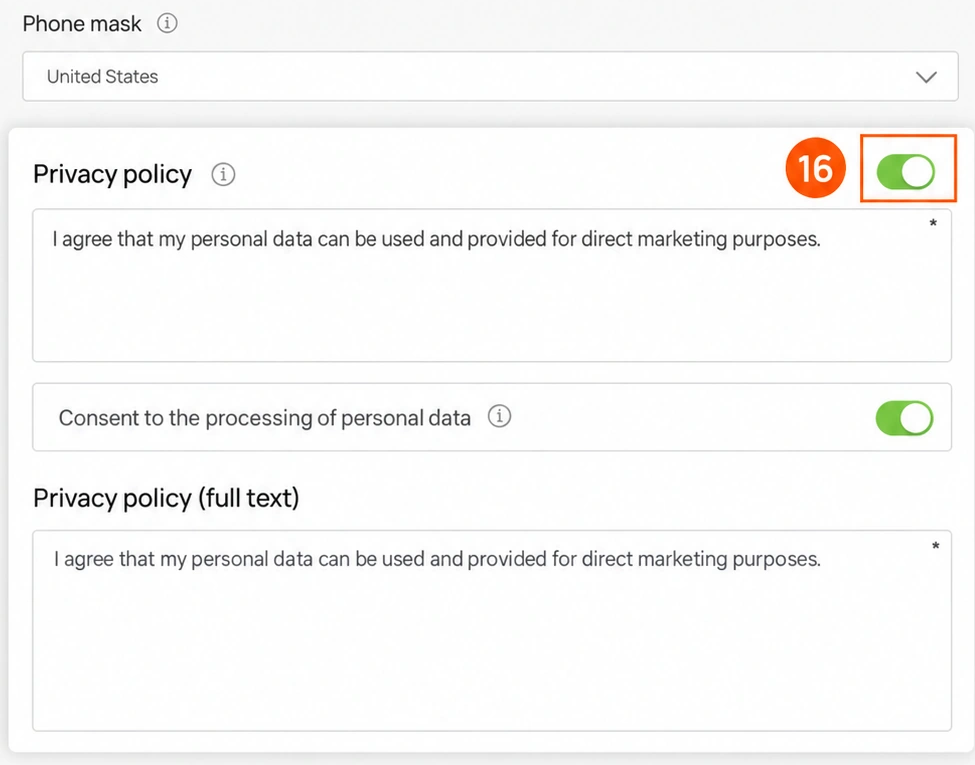
Choose a country or region in Phone mask. The sample uses United States. Choose the region appropriate for your customer phone numbers; formatting and validation still need a test.
-
Turn on Privacy Policy to include it on the card. Edit the policy in the field below.
-
To include consent for processing personal information, turn on Consent to the processing of personal data.
-
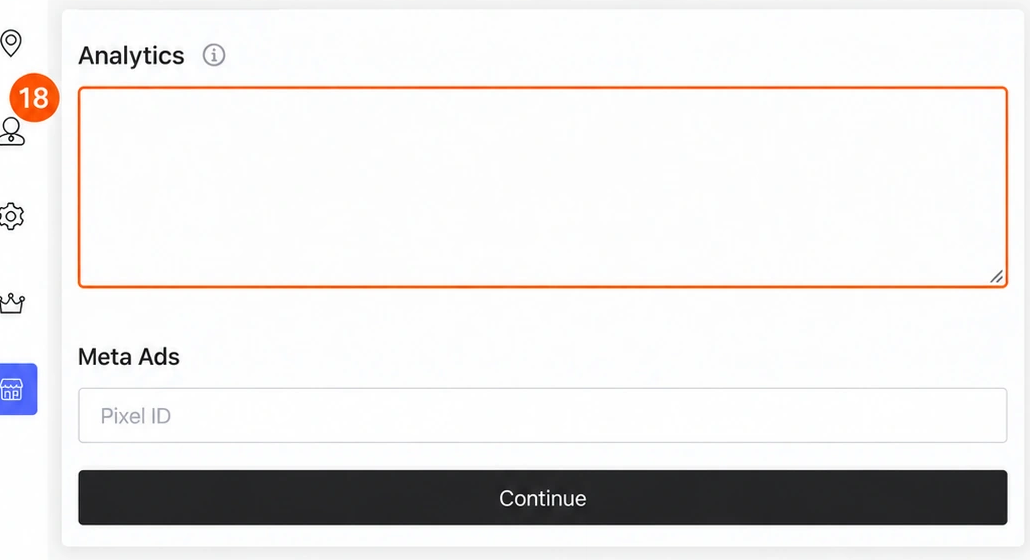
Optional analytics: leave Analytics and Meta Ads empty for the first setup unless you have a reviewed tracking configuration.
- After completing the required fields, click Continue to open Design.
Design
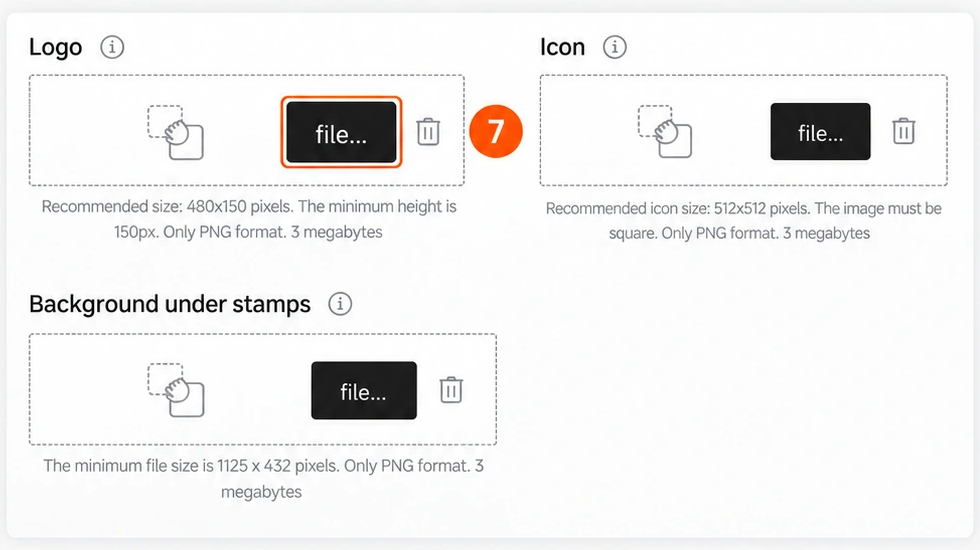
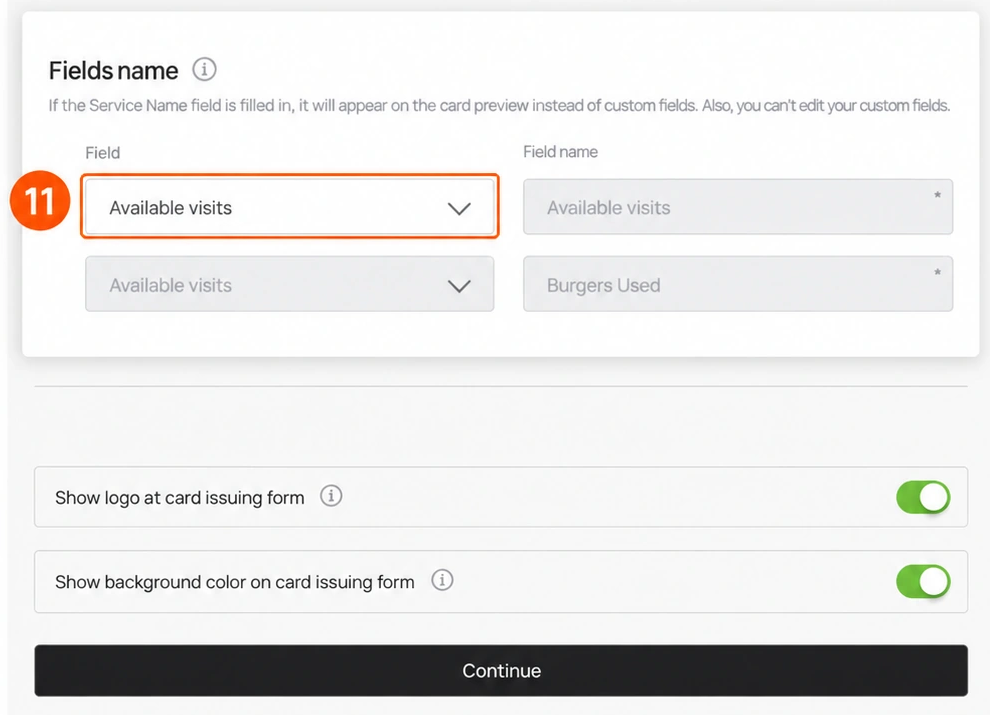
Upload buttons are labelled file.... In the sample, Service is filled in and replaces the custom display fields. Those fields are greyed out in the illustrations.
-
Prepare your logo and artwork, or use stock stamp icons for the first setup.
-
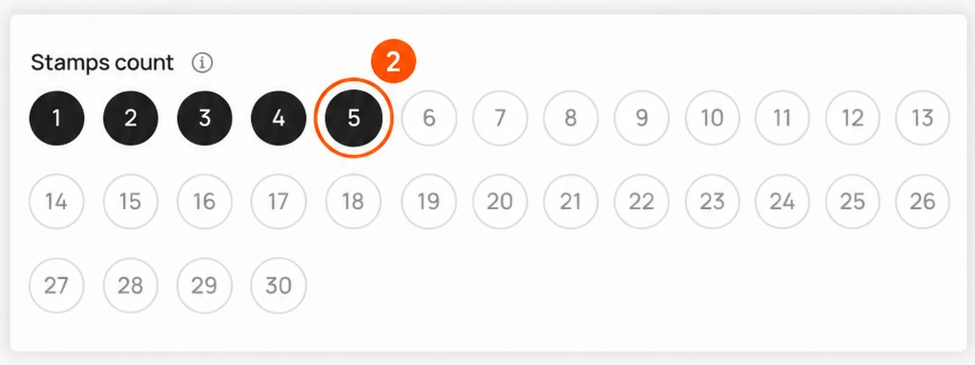
Choose Stamps count to match your offer. The sample uses 5. Purchase and redemption behavior still needs an authorized test.
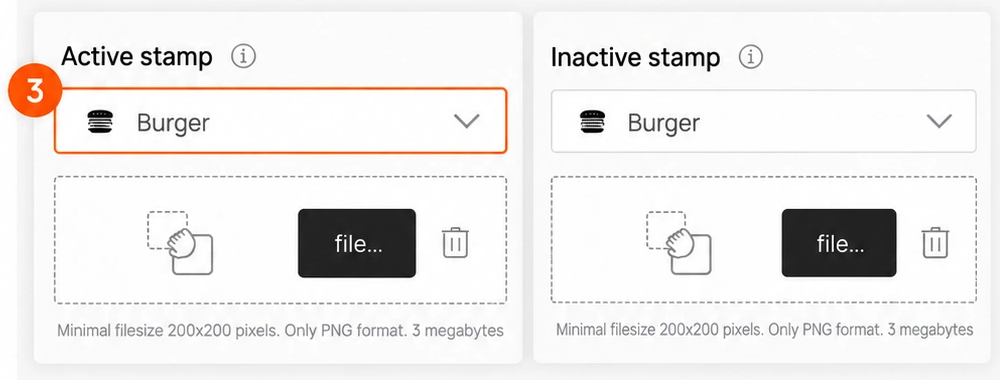
- Choose an icon for active stamps from Active Stamp.
-
Choose an icon for inactive stamps from Inactive Stamp.
-
Alternative to a stock icon: to upload an active stamp icon from your device, click file... under Active Stamp.
-
Alternative to a stock icon: to upload an inactive stamp icon from your device, click file... under Inactive Stamp.
-
Click file... under Logo to upload a logo from your device for the card and issuing form.
-
Click file... under Icon to upload an icon from your device for push messages.
-
Click file... under Background under stamps to upload a background icon from your device.
-
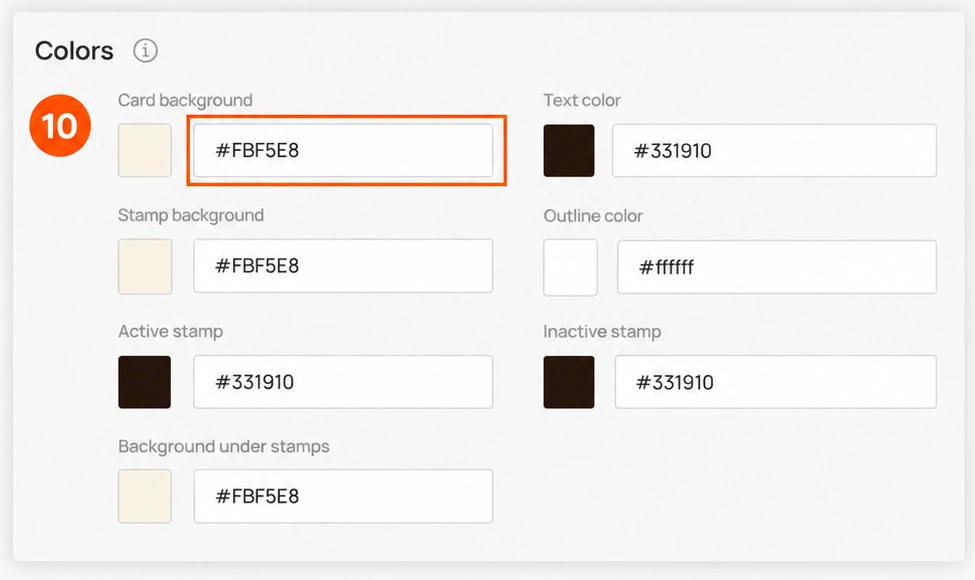
Under Colors, set Card Background, Text Color, Stamp Background, Outline Color, Active Stamp, Inactive Stamp, and Background under stamp.
- Service or custom fields: for this Service-based example, skip custom-field steps 11–12. The editor says a filled Service replaces custom fields and prevents editing them. For an offer using custom fields instead, Fields name → Field selects the display type; that alternative setup remains unverified.
-
Custom-fields alternative only: Field Name holds the display text. Confirm the editable setup with support before using it instead of Service.
-
Turn on Show logo at card issuing form to display the logo on the card issuing form.
-
Turn on Show background color on card issuing form to display the background color on the form.
-
When the design is ready, click Continue to open Information.
Information
-
Enter the card information and check how each field appears in the mobile preview on the right.
-
Enter a short description in Card Description.
-
Enter your business name in Company Name.
-
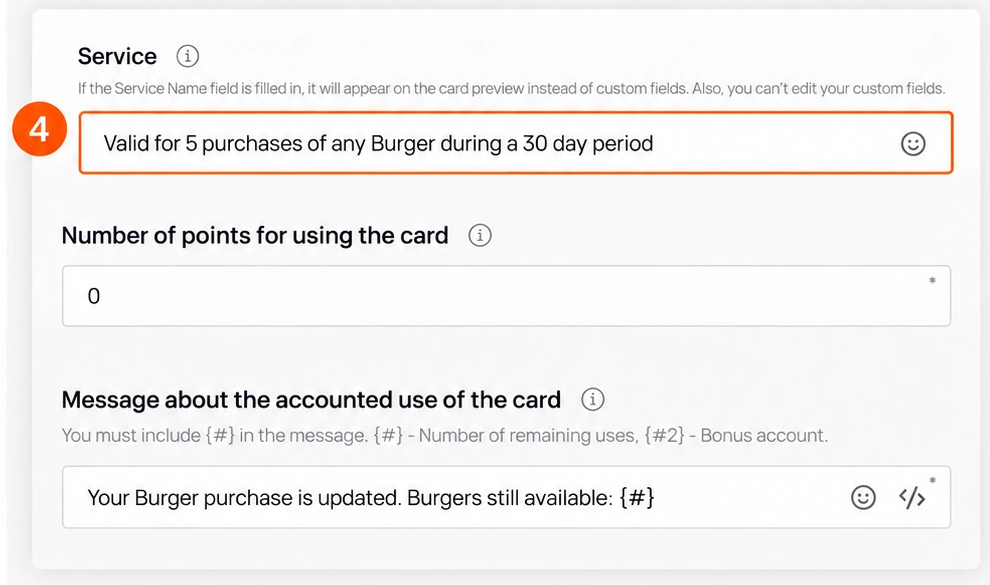
Enter the service name in Service. When filled in, it replaces the custom fields on the card.
-
In Number of points for using the card, set how many points customers earn when they use the card.
-
In Message about the accounted use of the card, include {#} exactly; the editor identifies it as the number of remaining uses. Example: Burger purchase recorded. Burgers remaining: {#}. The optional {#2} represents the bonus account. Runtime substitution remains unverified; check the actual message during your test.
-
Leave Referral program set to Inactive for this five-use example and continue to step 13. Steps 8–12 are an optional reference for an Active program; the current fields and their effects have not been verified.
-
Active referrals only, unverified: Under Get bonus at the moment when, choose when customers receive the bonus.
-
Active referrals only, unverified: Under Number of points for the referrer, set how many points a customer earns for sharing their card through the referral program.
-
Active referrals only, unverified: Use the controls under Number of points for a referral to set how many points a new customer earns for registering through the referral program.
-
Active referrals only, unverified: Under Number of uses of the card for the referrer, set how many stamps a customer earns for sharing their card through the referral program.
-
Active referrals only, unverified: Use the control under Stamps count for the new customer to set how many stamps a new customer earns for registering through the referral program.
-
Optional customer links: under Active Links, choose a link type from Type: URL, Phone, Email, or Address.
-
For URL, enter the website address in Link. Phone, Email and Address need their corresponding destination; their current input formats remain unverified.
-
In Text, enter the link text to display on the card.
-
To remove an active link, select the trash icon at the end of its row.
-
Click Add Link to add another row.
-
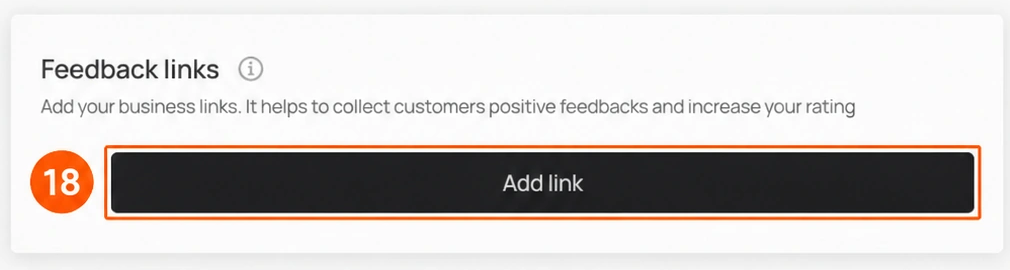
Optional feedback: use Feedback links for a review destination. Not yet verified: the current Add link sequence and resulting fields. The button was enabled in the read-only review, but was not clicked. If unavailable, ask support; do not assume a destination is configured.
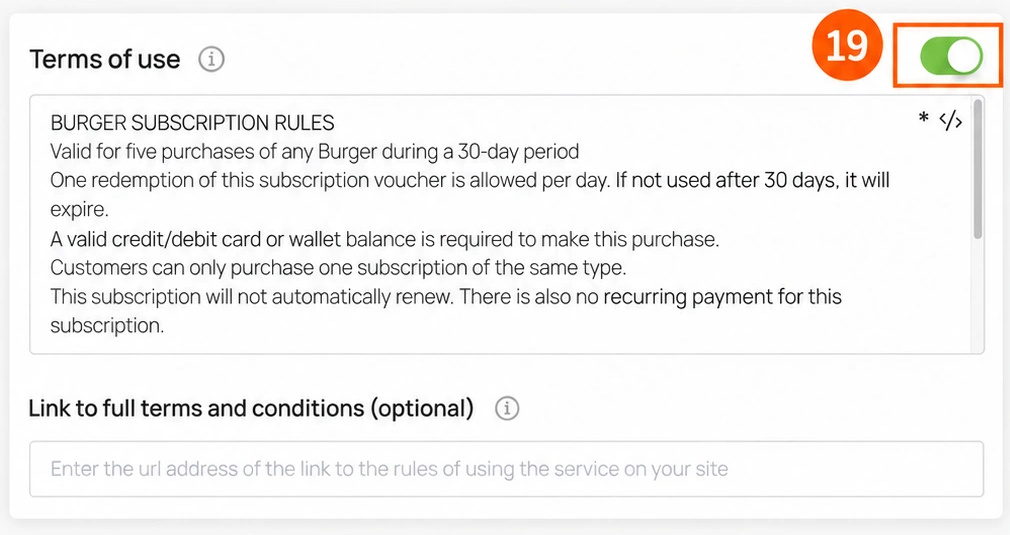
- Turn on Terms of Use to include terms on the card.
-
Enter your terms in Terms of Use.
-
In Link to full terms and conditions, enter the link to your business's complete terms and conditions.
-
Under Issuer Information, enter Company Name, Email, and Contact Number. These details appear on the back of the card.
Completion is not yet verified. The existing editor shows Finish, Save and preview, and Activate. Older instructions disagree about their order. Visible controls do not establish their effects; do not follow an inferred activation sequence.
-
Review the offer, expiry, signup/privacy text, artwork, usage message, terms and issuer details before activation. Check that saved sample values have not replaced your intended offer.
-
Confirm the current save → reopen → preview → activation procedure with support or in an authorized test. Confirm the saved state and active status separately; do not assume that viewing a preview saves or activates a card.
Save & Preview
-
Verification required: establish the save and reopen steps first. The older guide said Finish opened a Preview popup; that transition has not been tested in the current flow.
-
Check the card identity, allowance, expiry and terms in your own preview. A preview alone does not prove issuance, payment or redemption behavior.
-
Obtain your own installation link or installation QR using Share your card. The older flow names Copy link; its current location and destination still need confirmation. The barcode on an issued wallet card is for staff scanning. Never use Harry's demonstration QR for your customers.
-
Confirm the activation control and resulting status before distribution. The older guide also named Activate Card; do not assume it must be used in addition to Activate. Test installation and an authorized one-use transaction before launch.
Install and check the result
Follow the iPhone or Android instructions using your own installation link. Those guides refer to Email; include that field if your selected installation flow needs it. Confirm the actual signup fields rather than assuming every card uses the same form.
On an authorized test card, verify the intended allowance, expiry and matching front/details. Use the Multipass scanner guide to prepare a one-use test, then check the remaining count and {#} message. Verify zero uses and expiry separately. Payment, automatic renewal and merchant restrictions are not established by this guide.